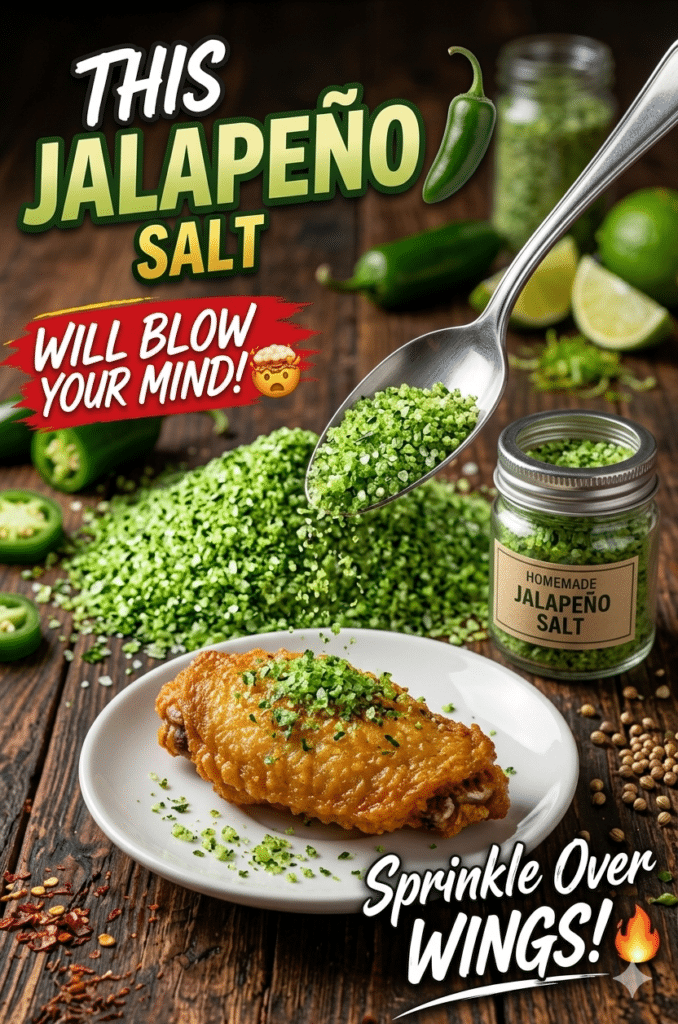
Homemade Jalapeno Salt Recipe – The Electric Green Seasoning
Ditch dull, gray, store-bought seasoning salt. Discover the master method to locking raw, vibrating green jalapeno heat into pristine sea salt crystals for the ultimate spicy finishing rub.
We have all been there: you pull a golden bowl of fresh popcorn out of the popper, plate up a stunning set of grilled steaks, or slice fresh watermelons for a hot summer cookout, and the finishing table salt looks completely boring. Traditional table salts add pure mineral salinity but provide absolutely no flavor dimension, while store-bought garlic salts are often filled with stale processing dust, anti-caking starches, and chemical preservatives. If you want a finishing element that injects an instant pop of luminous neon-green color alongside a crisp, vegetable-forward chili pepper punch, mastering this homemade jalapeno salt is your ultimate kitchen upgrade.
The beauty of crafting your own finishing salts at home lies in capturing raw, fleeting plant colors and aromatics at their peak. This recipe bypasses mass-industrial spray drying, opting instead for a simple oven infusion method that blends fresh pepper cells directly into coarse mineral sheets. It transforms two basic cupboard items into a high-definition gourmet accent, breathing incredible energy into everyday snacks and complex protein builds alike.
What is Artisanal Jalapeno Salt?
An authentic homemade jalapeno salt is a coarse, loose, and brilliantly colored custom spice blend that fuses dehydrated green pepper flesh cleanly onto mineral salt crystals. Unlike muddy commercial spice powders that clump up over time, a high-performance finishing salt maintains individual crystal integrity while trapping fresh capsaicin oils directly inside the seasoning base.
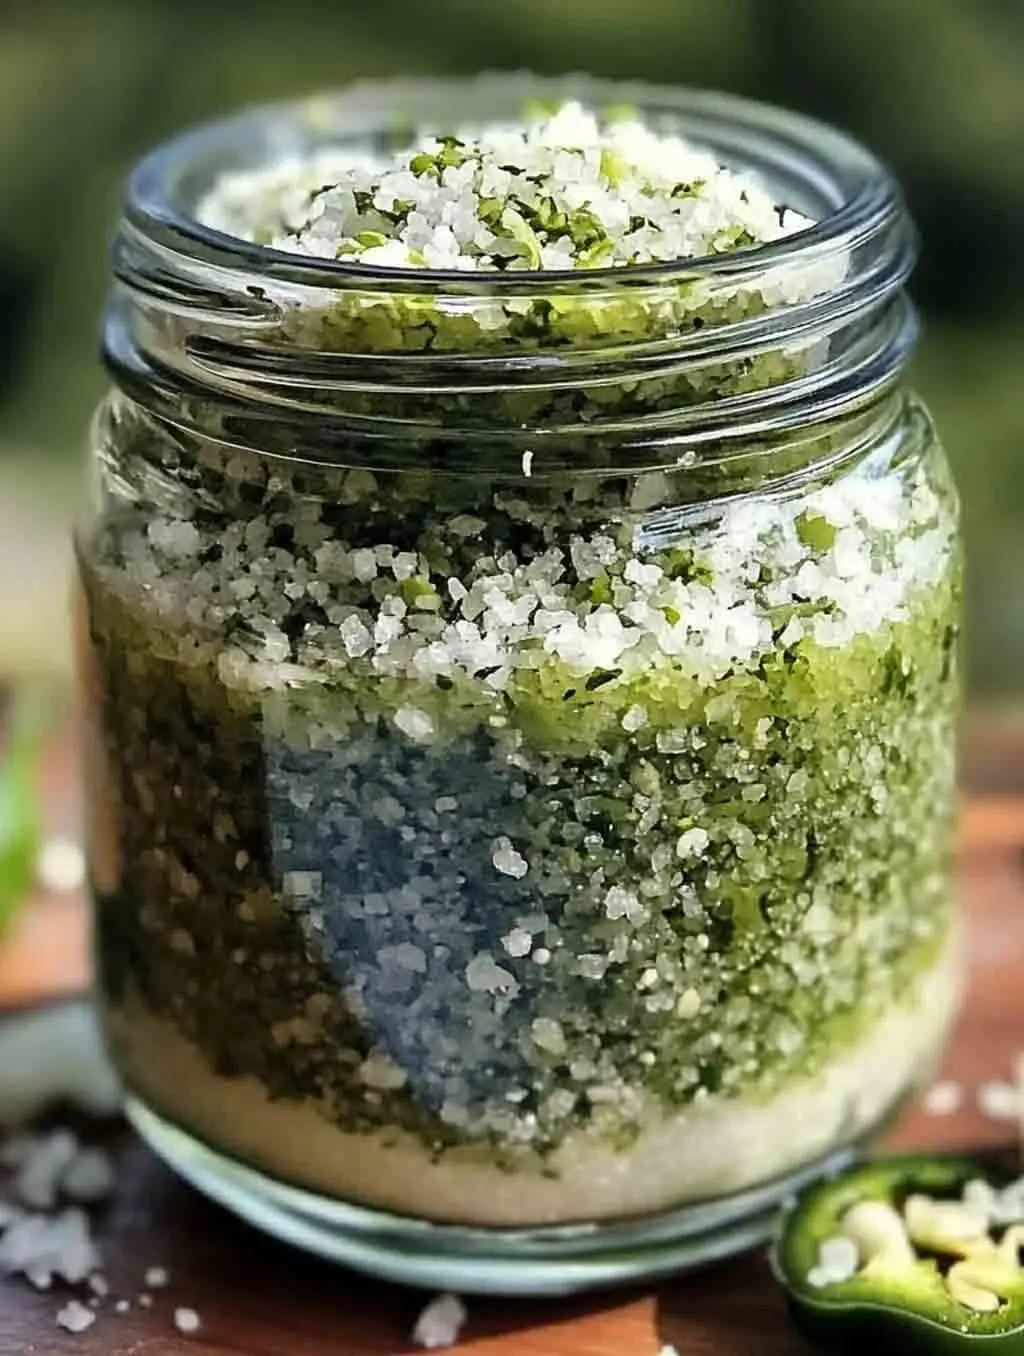
As shown above, a premium homemade jalapeno salt preserves distinct layers of sharp mineral white and brilliant green chlorophyll flecks for maximum visual contrast.
                      [ Fresh Whole Green Jalapenos ]
                                     |
             +-----------------------+-----------------------+
             |                                               |
     [ Liquid Moisture Release ]                    [ Crystal Suspension Matrix ]
     - High-Speed Puree Processing                  - Coarse Kosher or Sea Salt
     - Cellular Wall Disruption                     - Total Surface Area Adherence
     - Low-Heat Water Extraction                    - Natural Dehydration Stability
This structural processing balance guarantees that when the seasoning lands on a hot plate, it doesn’t dissolve immediately into a sticky glaze. Instead, it provides a beautiful textural pop that contrasts cleanly with rich meat oils, fresh citrus elements, and crisp snack foods.
The Dehydration Science: Preserving Chlorophyll and Volatile Oils
The secret behind that beautiful, electric green glow relies strictly on organic food science. Green jalapenos get their brilliant color from heavy concentrations of **chlorophyll** locked deep within their vegetable cell walls. Chlorophyll is highly sensitive to intense ambient heat. If you roast a fresh jalapeno pepper at high temperatures (greater than 300°F / 150°C), the intense heat breaks down the magnesium core inside the chlorophyll molecules, converting it into pheophytin. This undesirable chemical shift changes the beautiful bright green color into a dull, muddy olive brown.
To lock in that stunning visual pop, this recipe employs a **low-temperature moisture extraction loop**. By pulsing fresh raw peppers into a wet puree and mixing them with coarse salt crystals, the salt immediately begins drawing moisture out of the vegetable cells through osmosis. When we dry this damp green slurry in the oven at a low heat of 170°F to 200°F (75°C to 95°C), the water evaporates smoothly without scorching the delicate chlorophyll layers. This method preserves the natural green pigments while sealing the volatile jalapeno flavor oils straight onto the mineral edges.
The Raw Material Architecture
Because this custom seasoning rub utilizes only two essential raw materials, choosing premium components is critical for achieving optimal texture and storage stability:
Fresh Green Jalapenos: Select medium-sized chiles that feel heavy, firm, and exhibit completely smooth skin with zero wrinkling or soft spots. Keeping the internal ribs and seeds intact during the blending phase ensures you capture maximum capsaicin heat, balancing out the heavy salinity of the mixture.
Coarse Kosher Salt or Flaky Sea Salt: Non-negotiable for premium finishing textures. Standard fine iodized table salt should be avoided; its tiny granules dissolve too quickly into the pepper moisture, forming a solid, brick-like mass during dehydration rather than loose, beautiful seasoning grains.
How to Make Jalapeno Salt: Step-by-Step Production Guide
Phase 1: Puree Processing Protocols
Thoroughly wash your green jalapenos and pat them completely dry with paper towels to eliminate surface moisture. Slice off the tough stem caps and chop the peppers into medium round coins, keeping the seed matrices intact. Drop the pepper coins into a food processor or high-speed blender. Pulse repeatedly until the vegetable walls break down into a fine, uniform green slush. Take care not to over-process the mixture into a completely clear liquid juice.
Phase 2: The Osmotic Salt Blend
Pour your coarse kosher salt or flaky sea salt directly into the blender container over your fresh green mash. Pulse the machine 3 to 5 times for just a few seconds; this allows the blades to distribute the thick salt crystals evenly through the wet pepper slurry without grinding the coarse salt down into a fine powder. The mixture should look like wet, bright green sand.
Phase 3: Sheet Pan Sheet Bedding
Preheat your home oven to its absolute lowest temperature setting—ideally between 170°F and 200°F (75°C to 95°C). Line a large, heavy rimmed baking sheet with a sheet of premium parchment paper. Use a silicone spatula to scrape the wet, vibrant green salt layer out of the blender and spread it evenly across the pan. Use the back of a spoon to press the salt into a thin, uniform sheet to maximize airflow.
Phase 4: Low-Thermal Moisture Dehydration
Slide the baking sheet into the center of your oven and bake for 2 to 3 hours. Every 45 minutes, slide the pan out and use a fork to break up any hardening sheets, stirring the salt thoroughly to allow trapped steam to escape. You know the process is complete when the salt loses all damp tackiness, turning into a bone-dry, free-flowing crystal mix that falls cleanly off your fork. Let it cool completely to room temperature before storage.
Creative Flavor Infusions to Customize Your Shaker
This master green salt template serves as an exceptional springboard for building customized Homemade Seasoning Blends across your digital pantry index:
The Zesty Citrus Lime Infusion: Zest 2 fresh limes directly into the blender alongside the raw peppers before processing to create a spectacular zesty accent for rims. See how lime oil elevates your taco profiles by browsing my Citrus Lime Chili Jelly.
The Savory Garlic Rub: Fold 1 tablespoon of premium garlic powder into the dry salt after baking to craft an incredible savory baseline for steaks. Discover how savory garlic balances meat profiles by reading my garlic Cowboy Butter Sauce.
The Direct Fire Alternative: If you want to elevate this blend to extreme, sweat-inducing heat levels, swap the jalapenos for dried red chile flakes or follow the advanced milling protocols found inside my live Carolina Reaper Powder Recipe or my smoky Fermented Habanero Powder Recipe.
The Sweet-Heat Contrast: If you enjoy pairing intense mineral salinity with heavy fruit profiles, layer this dry seasoning next to my liquid-based preserves, like my popular Spicy Strawberry Jalapeno Jam Recipe or my sweet Peach Serrano Jam Recipe.
Common Mistakes: Keeping Your Finishing Salt Free-Flowing
Crafting custom Easy Homemade Seasonings is highly rewarding, but overlooking tiny details can cause structural issues:
1. The Salt Turns a Opaque, Muddy Brown Inside the Oven
This occurs if your oven temperature is set too high or if you bypass checking the sheet pan. High heat browns the natural fructose inside the pepper cells. Always stick to a low setting below 200°F (95°C), and keep the oven door cracked slightly if your appliance runs hot to preserve that signature green glow.
2. The Seasoning Clumps Into a Hard Block After Storage
If your jar turns into a solid rock after a few days, you packed it away while the salt still held microscopic water vapor. Always ensure the mix is bone-dry before bottling. To safeguard your shaker against humidity, drop a small teaspoon of raw, dry rice grains into the bottom of your storage jar to safely absorb moisture over time.
3. The Salt Granules Dissolve completely into a Muddy Paste
This happens if you run your blender continuously for too long during the salt integration phase. Over-blending pulverizes coarse mineral boundaries into standard fine tables. Always stick to brief, tactical pulses just to distribute the crystals within the green slush.
The Ultimate Finishing Protocol: Where to Shake the Heat
This spectacular electric green jalapeno salt belongs at the front of your spice rack. Its bold salinity and sharp bite elevate a massive selection of dishes:
1. Backyard Grilling and Roasted Proteins
Shake a generous dust of this green salt over grilled ribeyes, seared pork chops, or crispy chicken wings fresh out of the cooker. For an incredible array of alternative grilling glazes, pair this dry rub with my rich Homemade BBQ Sauce Recipe or my authentic, tangy Carolina Gold Barbecue Sauce. It also adds an incredible kick when dusted over crispy skin prepared with my classic Wing Sauce Recipes.
2. Taco Bars and Street Food Assets
Dust this neon seasoning over fresh avocado slices, loaded fish tacos, or crispy tortilla chips. Its crisp heat slices through heavy fats beautifully. If you are setting up a comprehensive Mexican table layout, serve it alongside my signature Best Fish Taco Sauce Recipe or my smooth, herbal Creamy Avocado Chimichurri Sauce.
3. Creative Cocktails and Snack Finishes
Use this vibrant blend to rim glass borders for spicy margaritas or bloody marys, or shake it over roasted cashews and hot french fries. For a diverse appetizer table layout next to party snack spreads, present it side-by-side with a dipping bowl filled with my copycat Raising Cane’s Sauce or my rich, peppery Dynamite Sauce Recipe.
Frequently Asked Questions
How long does homemade jalapeno salt last in the pantry?
Stored inside a clean, airtight glass jar inside a cool, dark cupboard, this artisanal seasoning blend easily maintains its flavor and bright color for up to 6 months. Salt is an absolute natural preservative that completely prevents bacterial growth.
Can I use a food dehydrator instead of a traditional home oven?
Absolutely! A food dehydrator is an exceptional asset for this recipe. Spread the wet green salt matrix over fine mesh dehydrator sheets and dry at 135°F (57°C) for 4 to 6 hours until crisp and free-flowing.
Is this green chili salt blend safe for low-sodium diets?
Because the primary baseline carrier of this recipe is pure sea salt, it contains standard sodium levels. However, because the fresh jalapeno oils pack a massive flavor punch, you will naturally find yourself using far less salt overall to wake up your palate.
1 cup fresh green jalapeno peppers, washed and stems removed (approx. 5-6 medium chiles)
1 cup coarse kosher salt or premium sea salt crystals
Method:
Process the Green Mash: Roughly chop your clean, dry jalapeno peppers into round coins, leaving the seeds and inner ribs intact. Place the coins inside your food processor or blender container and pulse repeatedly until they break down into a uniform, finely minced green mash.
Osmostic Pulse: Pour the coarse kosher salt directly into the processor over the green mash. Pulse the machine 3 to 4 times for just a few seconds until the crystals turn into wet, bright green sand. Avoid continuous blending to prevent the salt from grinding into a powder.
Bed the Pan: Preheat your home oven to its lowest setting, between 170°F and 200°F (75°C to 95°C). Line a large baking sheet with parchment paper and scrape the wet green mixture onto the pan, smoothing it into a thin layer.
Thermal Drying: Slide the tray into the center of the oven and dry for 2 to 3 hours. Every 45 minutes, use a fork to break up any hardening crust and stir the crystals to let trapped steam escape.
Cool and Bottle: Remove the tray from the oven once the salt is bone-dry and flows freely without any lingering stickiness. Let it cool completely to room temperature on your counter, then pour into clean glass spice jars and seal tightly. Enjoy your electric green glow!