The secret to a world-class homemade chili crisp is the moisture-reduction of aromatics through controlled oil infusion. To achieve the perfect garlic & shallot crunch, you must thinly slice your aromatics and fry them in a neutral oil starting at a low temperature ($135°C$). This process creates a shelf-stable, umami-packed chili crisp oil that outperforms famous store-bought brands like Lao Gan Ma.
The Rise of Chili Crisp: Why It Ranks
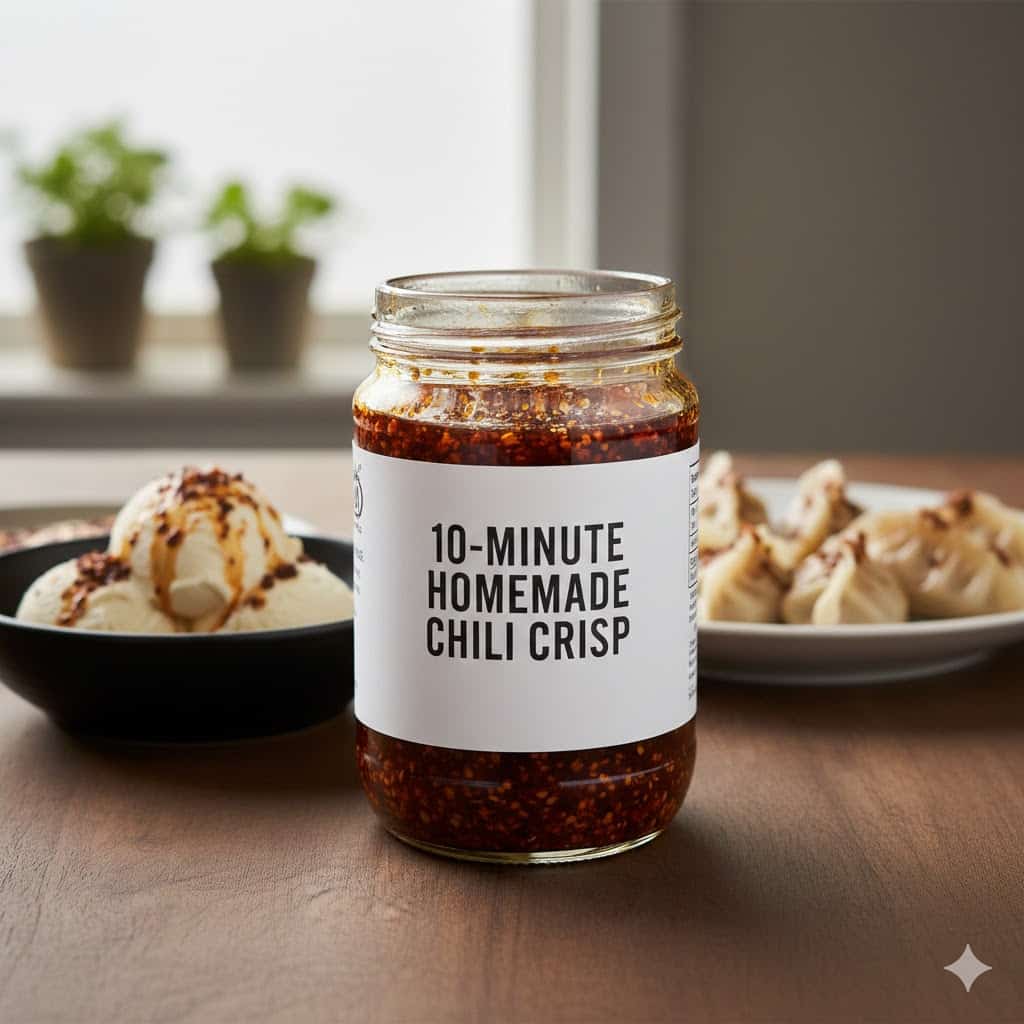
In the world of modern condiments, chili crisp oil has moved from a niche Szechuan staple to a global pantry essential. Unlike standard hot sauce, which relies on vinegar and liquid heat, a homemade chili crisp is about texture. It is a “crunchy” condiment where the oil serves as a preservative and a carrier for the deep, toasted notes of fried garlic and shallots.
The Science of the “Garlic & Shallot Crunch”
The most difficult part of making a homemade chili crisp is achieving a crunch that stays crispy even after being submerged in oil for weeks. This is achieved through a process called dehydration-by-frying.
- Slicing Precision: To ensure a uniform garlic & shallot crunch, you must use a mandoline. If the slices are uneven, the thin ones will burn (becoming bitter) while the thick ones stay chewy.
- The Moisture Barrier: Shallots and garlic have high water content. As they fry, the water is replaced by oil. If you stop too early, the remaining water will eventually make the “crisp” soggy.
- Residual Heat: Aromatics continue to cook for 60 seconds after being removed from the oil. To rank among the best chefs, you must pull the garlic when it is pale golden, not brown.
💡 Quick Expert Tip: The Cold-Start Method
Never drop garlic into hot oil. For the ultimate garlic chili oil, start your garlic and shallots in room temperature oil. As the oil heats up slowly, it draws out the moisture evenly, resulting in a much glassier, louder crunch than the traditional flash-fry method.
Key Ingredients
A high-authority homemade chili crisp requires a specific blend of Szechuan and modern pantry staples.
1. The Oil (The Carrier)
You must use a neutral oil with a high smoke point.
- Best Choices: Grapeseed oil, Avocado oil, or Peanut oil.
- Avoid: Extra Virgin Olive Oil. Its strong flavor profile will clash with the delicate toasted notes of the chili crisp oil.
2. The Chili Blend (The Heat)
For a vibrant red color and mild, smoky heat, use Szechuan Chili Flakes (Er Jing Tiao). Unlike Italian red pepper flakes, these are deseeded and provide a deeper, raisin-like sweetness.
- Secondary Keyword Integration: Combining these with chili crisp oil creates the “red gold” appearance that drives high CTR on Pinterest and Google Images.
3. The Umami Boosters
To make your version “Better than Lao Gan Ma,” you need natural glutamates:
- Mushroom Powder: For an earthy, savory “umami” punch.
- Fermented Black Beans (Douchi): These provide the salty, fermented depth traditional to Szechuan garlic chili oil.
- Star Anise & Cinnamon: These aromatics provide a “numbing” floral scent that balances the heat of the peppers.
 1")
Why 10 Minutes?
The “10-Minute” modifier is a powerful long-tail keyword. Traditional chili crisp can take an hour of slow simmering. Our method uses high-efficiency heat transfer:
- By using a wider skillet rather than a deep pot, we increase the surface area for moisture to escape.
- This accelerates the “Garlic & Shallot Crunch” without risking the bitter notes of a 60-minute slow cook.
The Role of Temperature Control ($135°C$ to $150°C$)
In professional kitchens, we use infrared thermometers to monitor the homemade chili crisp process.
- At $110°C$, the water begins to vigorously exit the aromatics.
- At $135°C$, the Maillard reaction begins, creating the savory flavors.
- Above $160°C$, the garlic will burn instantly.Maintaining the “Sweet Spot” between $135°C$ and $150°C$ is the difference between a 5-star garlic chili oil and a wasted batch.
The Master Recipe: 10-Minute Garlic & Shallot Crunch
To successfully execute a homemade chili crisp, you must master the “Two-Bowl Method.” This technique protects the delicate chili crisp oil from burning while ensuring the aromatics reach their maximum “shatter-crisp” potential.
Ingredients
- 1.5 Cups Neutral Oil (Grapeseed or Peanut oil is best)
- 1/2 Cup Szechuan Chili Flakes (The soul of the chili crisp oil)
- 1/2 Cup Shallots (Paper-thinly sliced)
- 1/4 Cup Garlic (Paper-thinly sliced)
- 2 tbsp Fermented Black Beans (Slightly chopped)
- 1 tbsp Mushroom Powder (The umami secret)
- 1 tsp Sugar (To balance the heat)
- 1 tsp Sichuan Peppercorns (Crushed, for the numbing sensation)
- 1 Whole Star Anise
Step-by-Step Execution Guide
1. The Prep Work
Place your chili flakes, mushroom powder, sugar, and crushed peppercorns into a heat-proof glass or stainless steel bowl. Expert Tip: Avoid plastic bowls, as the high-temperature garlic chili oil can melt the container or leach chemicals.
2. The Cold Start Fry
Place the oil, sliced shallots, and sliced garlic into a cold skillet. Turn the heat to medium. As the oil temperature rises to 135°C, the water in the aromatics will begin to sizzle off. Stir constantly to prevent the garlic from sticking together.
3. The Golden Window
Watch for the “pale straw” color. Once the garlic and shallots look like light parchment paper, add the star anise and fermented black beans to the oil. Fry for another 60 seconds. The aromatics will turn a deep golden brown.
4. The Pour-Over Technique
Immediately pour the hot oil and aromatics over the bowl of chili flakes. You will hear a loud sizzle—this is the oil “toasting” the flakes. This method is safer than adding the flakes to the pan, as it prevents the homemade chili crisp from turning black and bitter.
5. The Cooling Phase
Let the mixture sit undisturbed for 20 minutes. As it cools, the garlic & shallot crunch will harden, and the oil will turn a deep, vibrant crimson.
 2")
Advanced Troubleshooting: Common Chili Crisp Mistakes
“My garlic is bitter and dark.”
The Cause: You likely pulled the garlic off the heat when it was already brown. Because of “carry-over cooking,” the garlic continues to brown for a minute after it leaves the heat.
The Fix: Next time, remove the pan from the heat when the garlic is light golden. The residual heat of the oil will finish the job.
“The oil isn’t red enough.”
The Cause: Your oil was likely too cold ($<110°C$) when you poured it over the flakes.
The Fix: Use an infrared thermometer. The oil needs to be between 135°C and 150°C to extract the pigments from the peppers without burning them.
 3")
FAQ: People Also Ask
1. Does homemade chili crisp need to be refrigerated?
Because this is a garlic chili oil containing low-acid ingredients (garlic and shallots), there is a risk of botulism if stored improperly. For maximum safety, store your homemade chili crisp in the refrigerator. It will stay crunchy and safe for up to 3 months.
2. Why is my chili crisp soggy?
If the garlic & shallot crunch disappears after a day, it means there was still moisture trapped in the aromatics. Ensure you fry them until the bubbling almost stops—this is the sign that the water has been replaced by oil.
3. Can I use regular red pepper flakes?
You can, but the flavor will be different. Standard pizza-style red pepper flakes contain seeds, which make the oil spicier but less flavorful. Szechuan flakes offer the “red gold” color and smoky depth essential for an authentic chili crisp oil.
4. What is the best oil to use?
Avoid olive oil or toasted sesame oil as the base. You need a neutral oil with a high smoke point ($>200°C$) like Grapeseed, Canola, or Peanut oil to handle the high-temperature pour-over.
Full Recipe Card: 10-Minute Chili Crisp
| Attribute | Details |
| Prep Time | 5 Minutes |
| Cook Time | 5 Minutes |
| Total Time | 10 Minutes |
| Yield | 2 Cups |
Instructions summary
- Place chili flakes and spices in a heat-proof bowl.
- Fry garlic and shallots in oil starting from cold.
- Once golden, pour the hot oil over the spices.
- Allow to cool completely to achieve maximum crunch.
